
1. Login to the ZLCMS (select a website from the dropdown selector in the top right hand corner, if applicable)
2. Select the Content plugin
3. Find the page you want to add a button to and click "Edit" OR click "Add Page"
4. Place your cursor where you would like the button to go and type in the text you would like on the button (in this example, the button will say “Click Here”)
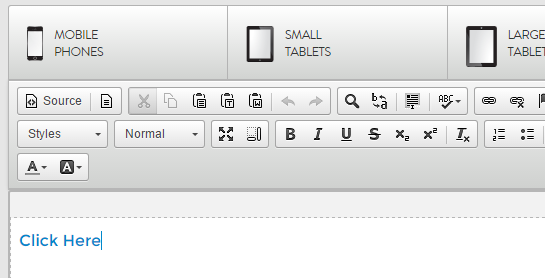
5. Select the button text, click on the hyperlink icon. Insert the link you want the button to lead to then click “OK”

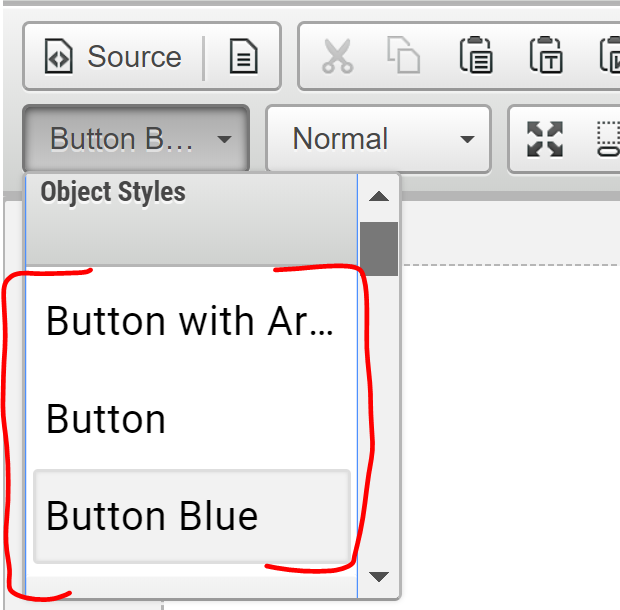
6. Next, click on the "Styles" dropdown.

7. Select one of the button styles that your site offers. If you don't see any button styles available for selection, see "Note" below.
8. Click “Save Changes” at the bottom of the CKEditor and check your page on the user side of the website to make sure the button looks good and works properly.
Note: If your "Styles" dropdown does not have button options, you can try adding a button manually using HTML, see alternative steps below.
Alternate step 6: Click on "Source" button.
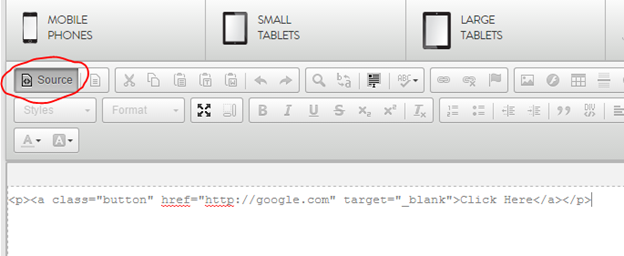
Alternate step 7. Add class=”button” in between <a and href (type in manually, do not copy paste)
8. Click “Save Changes” at the bottom of the CKEditor and check your page on the frontend of the website to make sure the button works properly.
If you have any questions about this help document please submit a support ticket or give us a call at 866-440-3158 ext. 2.