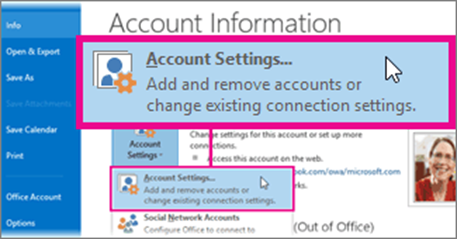
2) Select the email account you would like to edit from the list below and choose the change button or simply double click on the email account you wish to edit.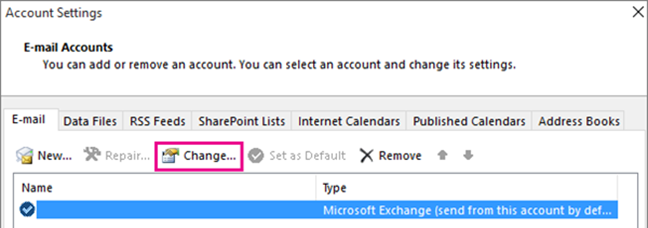
3) Next, on your main Account Details screen look at the "Account Type" field. Make sure your type is set to "IMAP." (If you would like your email set up using POP3, please click here for the correct settings)
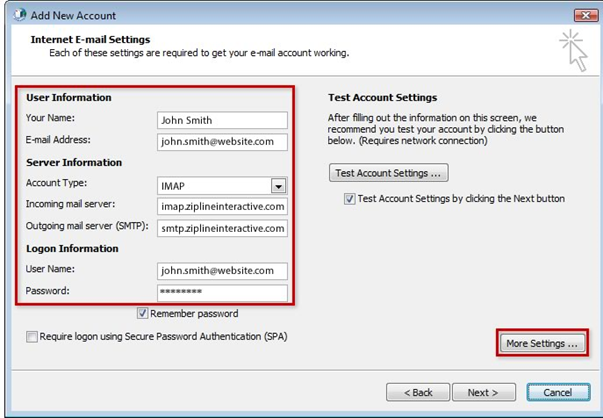
4) The first screen of the settings tab should show your email address as depicted in the screenshot. Next, click on the Outgoing Server tab.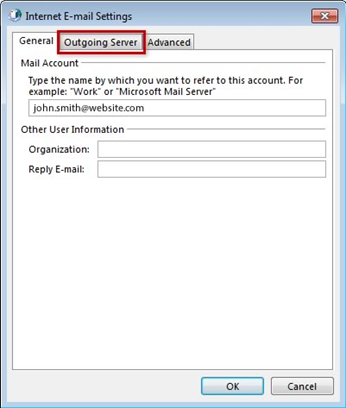
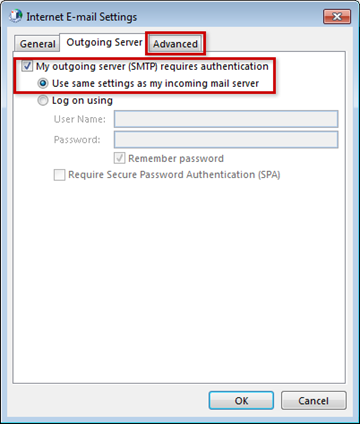
5) On the outgoing server tab make sure that you check the my outgoing server (SMTP) requires authentication box and then make sure to use the same settings as outgoing as showin in the picture below. Once complete, click on the Advanced tab.
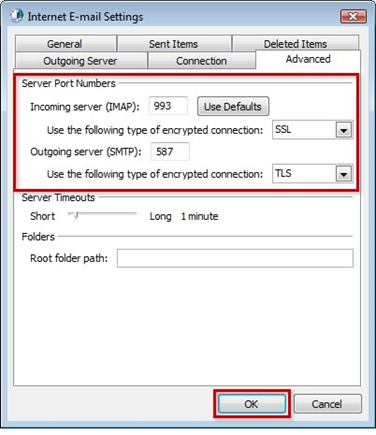
6) On the advanced tab enter the settings outlined in the screenshot. Once you have entered the data so that all four points match then click OK.
7) Clicking OK will navigate you back to the main settings screen where we have already made modifications. You can review this data to make sure that it matches the screenshots below for the type of email you have. Click “Next >”.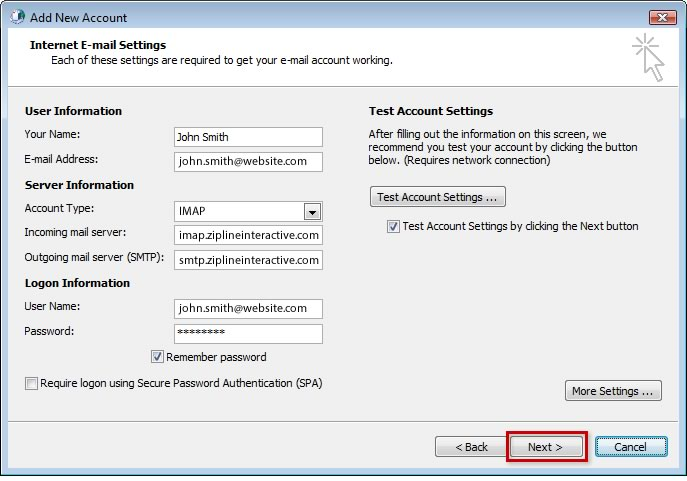
8) Once you click “Next,” Outlook will attempt to connect to your revised account.
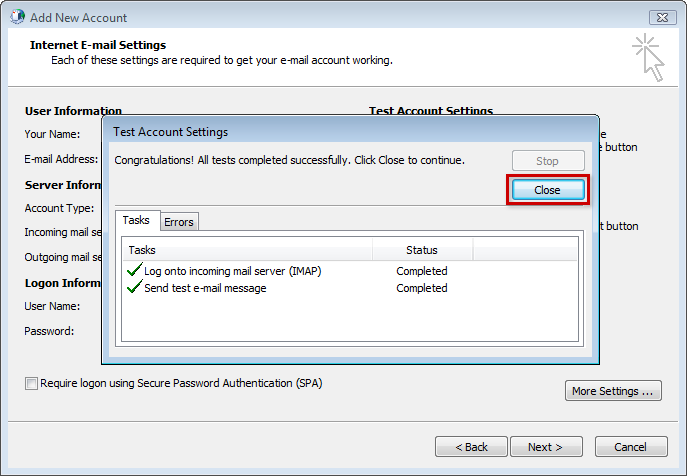
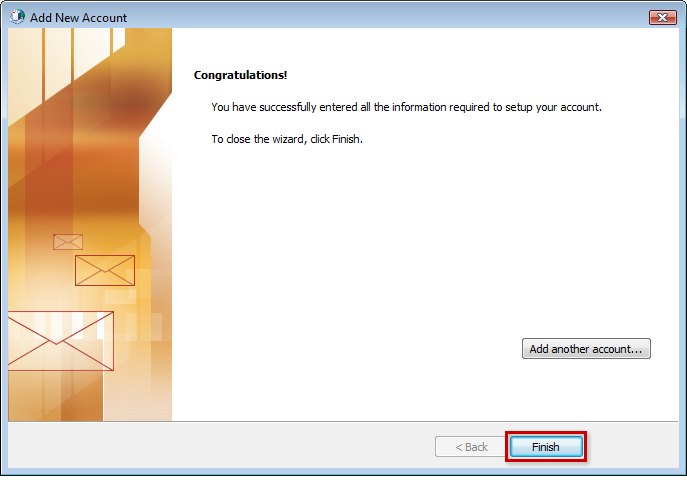
9) Click Next at the bottom of the screen. Congratulations, you have now updated your Outlook! Click "Finish" to begin using your email. If you have any problems please give our support department a call at 866-440-3158 ext. 2.
